
Complete material sets
Useful when you need a coordinated selection of compounds, pads or accessories rather than one standalone liquid.
 Brake CareShop the complete range
 Cleaning KitsShop the complete range
 Fillers, Adhesives & SealantsShop the complete range
 T-Cut Black Scratch Remover Paintwork Restorer 150g with Wax Applicator Set
£12.97
In stock
T-Cut Black Scratch Remover Paintwork Restorer 150g with Wax Applicator Set
£12.97
In stock
 T-Cut Color Fast Blue Scratch Remover and Colour Enhancer, 150 g
£9.97
In stock
T-Cut Color Fast Blue Scratch Remover and Colour Enhancer, 150 g
£9.97
In stock
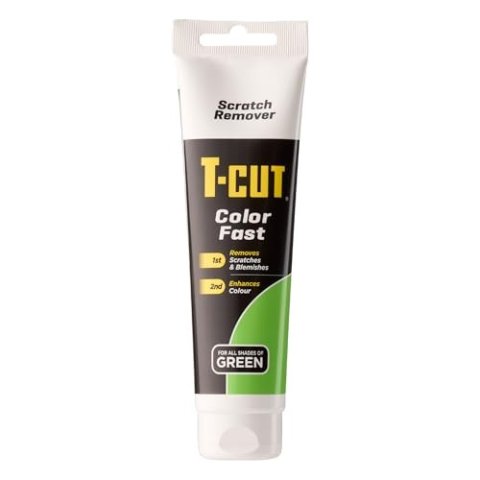 T-Cut Colour Fast Green Scratch Remover and Colour Enhancer, 150g
£18.87
In stock
T-Cut Colour Fast Green Scratch Remover and Colour Enhancer, 150g
£18.87
In stock
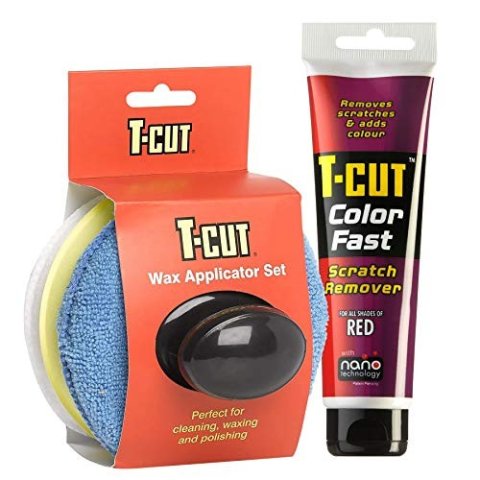 T-Cut Colour Fast Red Scratch Remover and Wax Applicator Set, 150g
£9.99
In stock
T-Cut Colour Fast Red Scratch Remover and Wax Applicator Set, 150g
£9.99
In stock
 T-Cut Colour Fast Scratch Remover and Colour Enhancer, Black, 150g
£7.48
In stock
T-Cut Colour Fast Scratch Remover and Colour Enhancer, Black, 150g
£7.48
In stock
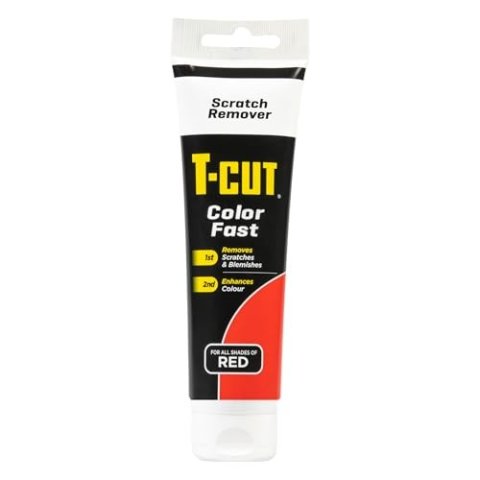 T-Cut Colour Fast Scratch Remover and Colour Enhancer, Red, 150g
£10.37
In stock
T-Cut Colour Fast Scratch Remover and Colour Enhancer, Red, 150g
£10.37
In stock
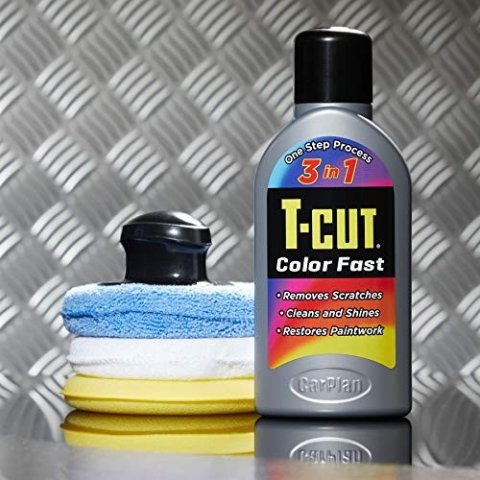 T-Cut Colour Fast Silver Paintwork Restorer 500ml with Wax Applicator Set
£14.99
In stock
T-Cut Colour Fast Silver Paintwork Restorer 500ml with Wax Applicator Set
£14.99
In stock
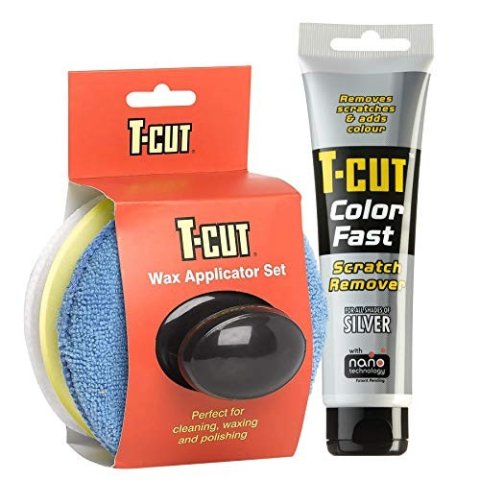 T-Cut Colour Fast Silver Scratch Remover and Colour Restorer 150g with Wax Applicator Set
£10.99
In stock
T-Cut Colour Fast Silver Scratch Remover and Colour Restorer 150g with Wax Applicator Set
£10.99
In stock
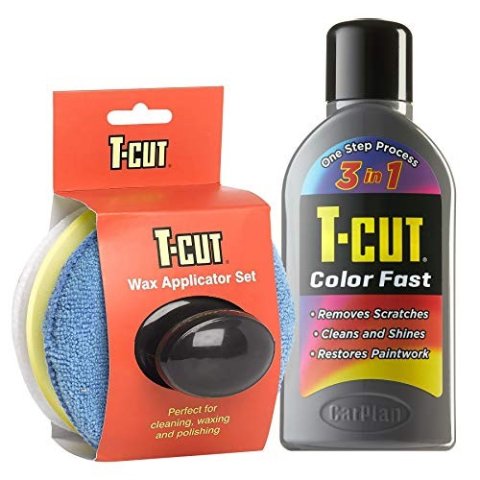 T-Cut Grey Colour Fast Scratch Remover Paintwork Restorer 500ml with Wax Applicator Set
£15.99
In stock
T-Cut Grey Colour Fast Scratch Remover Paintwork Restorer 500ml with Wax Applicator Set
£15.99
In stock
 T-Cut Metal Polish, 150g (Pack of 1)
£6.99
In stock
T-Cut Metal Polish, 150g (Pack of 1)
£6.99
In stock
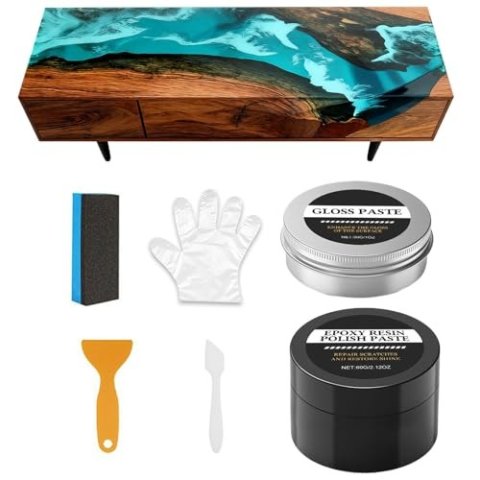 TABSIRAH Epoxy Resin Polishing Kit for Scratch and Haze Removal
£4.79
In stock
Save 23%
TABSIRAH Epoxy Resin Polishing Kit for Scratch and Haze Removal
£4.79
In stock
Save 23%  TINCAI 2-Pack Nano Quick Coat Car Polish Spray
£9.99
TINCAI 2-Pack Nano Quick Coat Car Polish Spray
£9.99 Troton Braystt Strong T1 Polishing Paste Universal Compound 250 g
£7.65
In stock
Troton Braystt Strong T1 Polishing Paste Universal Compound 250 g
£7.65
In stock
 Troton Braystt T1 Universal Polishing Paste 250 g
£7.65
In stock
Save 9%
Troton Braystt T1 Universal Polishing Paste 250 g
£7.65
In stock
Save 9% 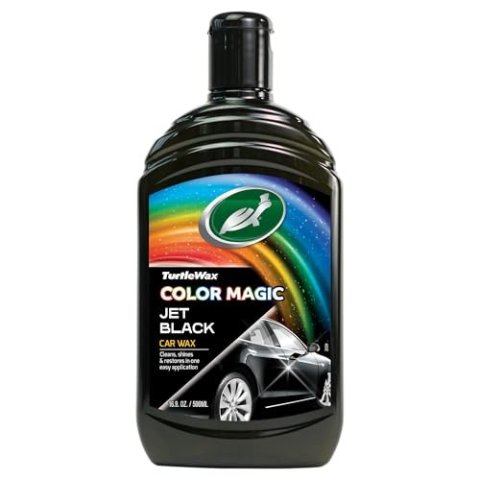 Turtle Wax Color Magic Car Paintwork Polish, Black, 500ml
£9.99
Turtle Wax Color Magic Car Paintwork Polish, Black, 500ml
£9.99 Turtle Wax Color Magic Car Paintwork Polish, Silver, 500ml
£11.00
In stock
Turtle Wax Color Magic Car Paintwork Polish, Silver, 500ml
£11.00
In stock
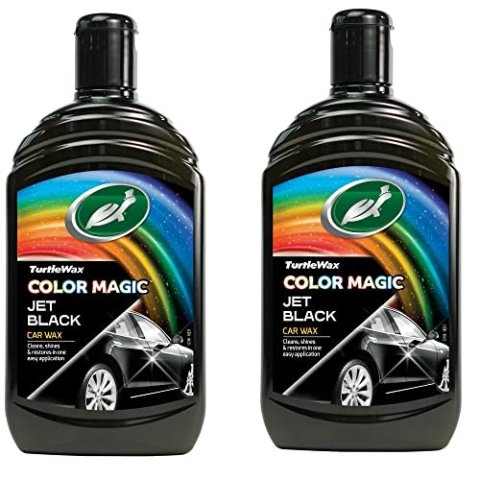 Turtle Wax Color Magic Grey Wax 500 ml Pack of 2
£17.25
In stock
Turtle Wax Color Magic Grey Wax 500 ml Pack of 2
£17.25
In stock
 Turtle Wax Color Magic Paintwork Polish & Shine, White, 2 x 500 ml
£17.00
In stock
Turtle Wax Color Magic Paintwork Polish & Shine, White, 2 x 500 ml
£17.00
In stock
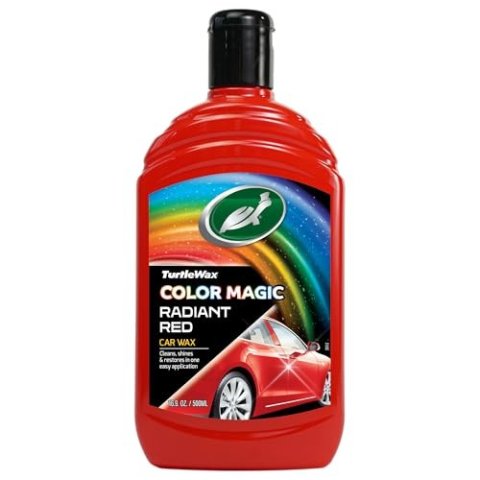 Turtle Wax Color Magic Red Car Paintwork Polish 500ml
£10.99
In stock
Turtle Wax Color Magic Red Car Paintwork Polish 500ml
£10.99
In stock
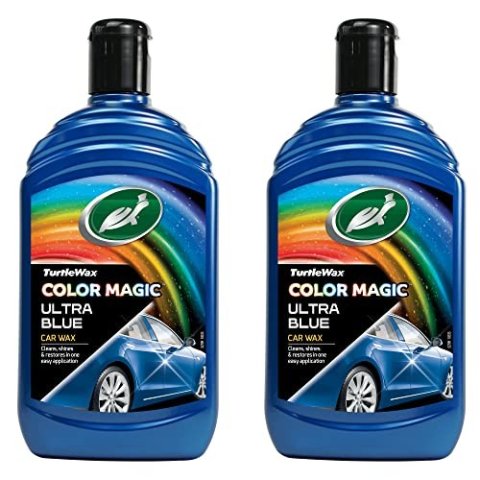 Turtle Wax Color Magic Ultra Blue Wax, 500 ml Pack of 2
£17.00
In stock
Turtle Wax Color Magic Ultra Blue Wax, 500 ml Pack of 2
£17.00
In stock
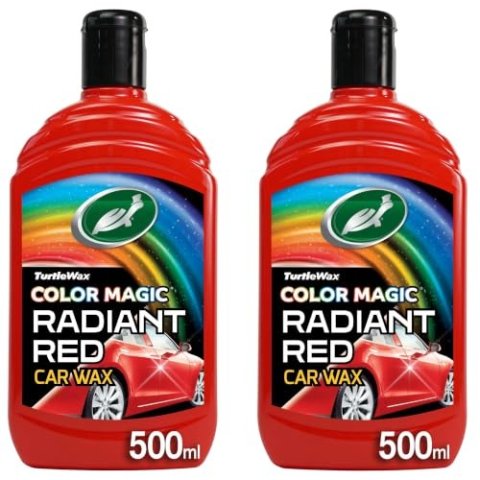 Turtle Wax Colour Magic Car Paintwork Polish & Shine, Red, 2 x 500ml
£17.00
In stock
Turtle Wax Colour Magic Car Paintwork Polish & Shine, Red, 2 x 500ml
£17.00
In stock
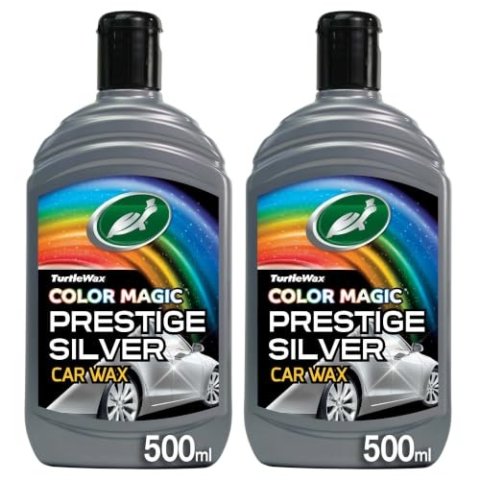 Turtle Wax Colour Magic Paintwork Polish & Shine, Silver, 2 x 500ml
£17.00
In stock
Save 7%
Turtle Wax Colour Magic Paintwork Polish & Shine, Silver, 2 x 500ml
£17.00
In stock
Save 7% 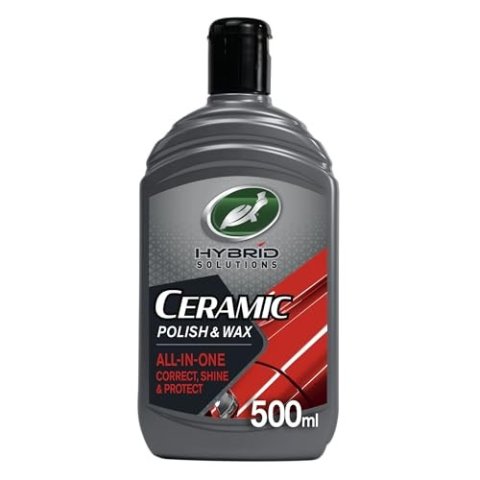 Turtle Wax Hybrid Solutions Ceramic Car Polish and Wax 500ml
£15.49
Turtle Wax Hybrid Solutions Ceramic Car Polish and Wax 500ml
£15.49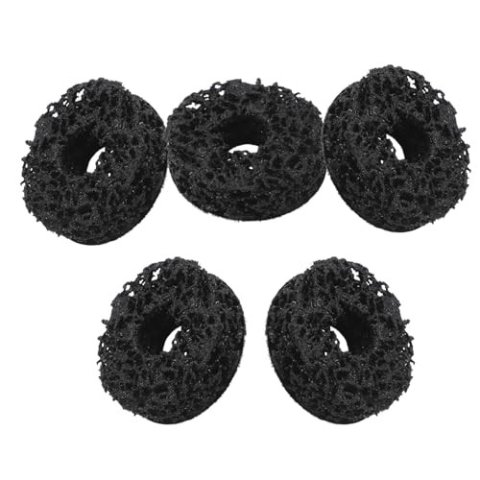 ULTECHNOVO Brake Hub Cleaning Pad Set, 5 Pieces, 5.00 x 5.00 x 1.50 cm
£8.19
In stock
ULTECHNOVO Brake Hub Cleaning Pad Set, 5 Pieces, 5.00 x 5.00 x 1.50 cm
£8.19
In stock
Paint correction and protection
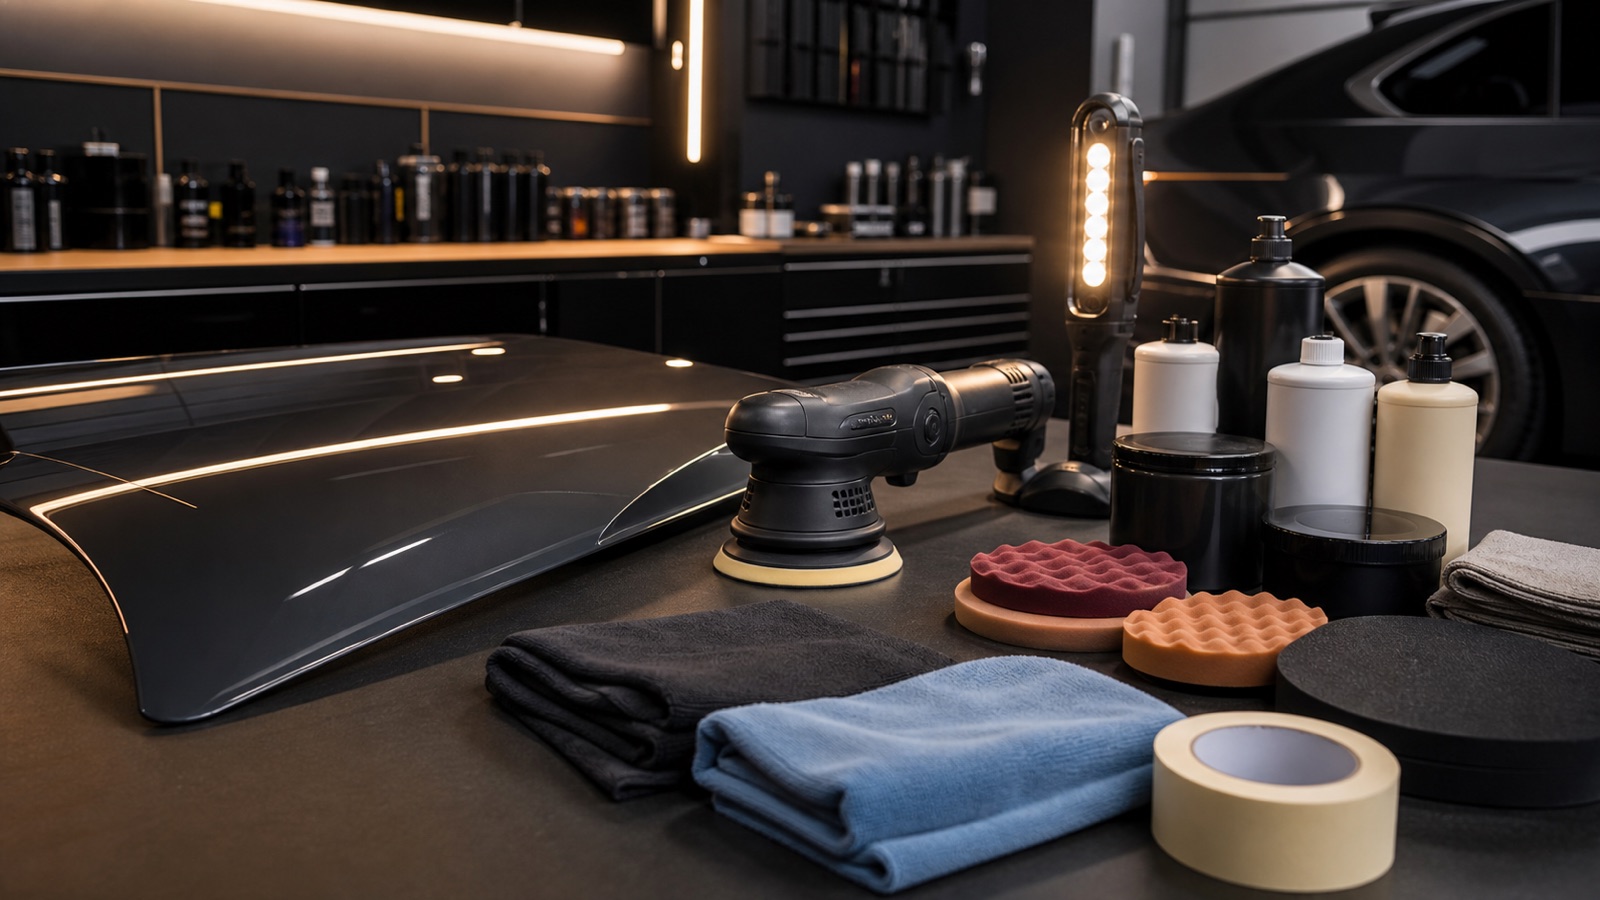
Not every mark needs an aggressive compound, and wax will not remove a scratch. Start by identifying the defect, then choose the least aggressive correction step that can improve it. Finish with protection only after the surface is clean and the result has been checked in good light.
Start with the task
Useful when you need a coordinated selection of compounds, pads or accessories rather than one standalone liquid.
For oxidation, sanding marks or visible defects that need controlled abrasive correction before refining.
For restoring gloss, refining light haze or preparing paint for a separate wax or sealant.
For repeatable machine work where pad size, backing plate, orbit and speed control must match the task.
Understand the labels
A comparatively abrasive correction product for heavier oxidation, sanding marks or more visible clear-coat defects. It normally needs a refining step afterwards.
A targeted abrasive or filling product for localised light marks. It can improve appearance, but it cannot rebuild missing paint or safely remove every deep scratch.
A finishing or light-correction product used to improve clarity and gloss. Some polishes contain protection, while others are intended to be followed by wax or sealant.
A protective finishing layer that can add gloss and water behaviour. It protects the prepared surface; it does not remove defects underneath it.
The pad changes the result as much as the liquid. Cutting, polishing and finishing pads should be matched to the product, paint condition and application method.
Dual-action and rotary machines behave differently. Check pad compatibility, working speed and your experience level before choosing a machine-led process.
Before you buy
A visual buying guide
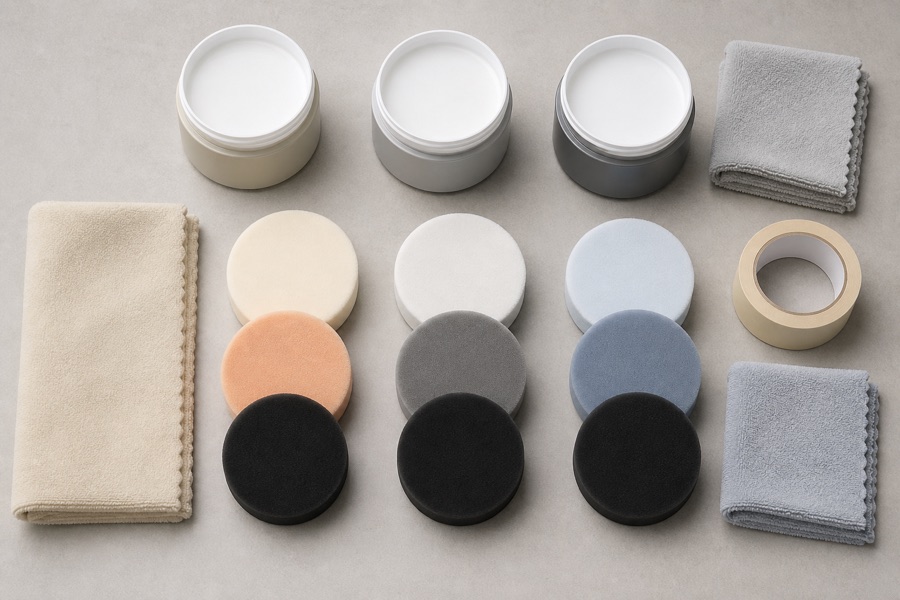
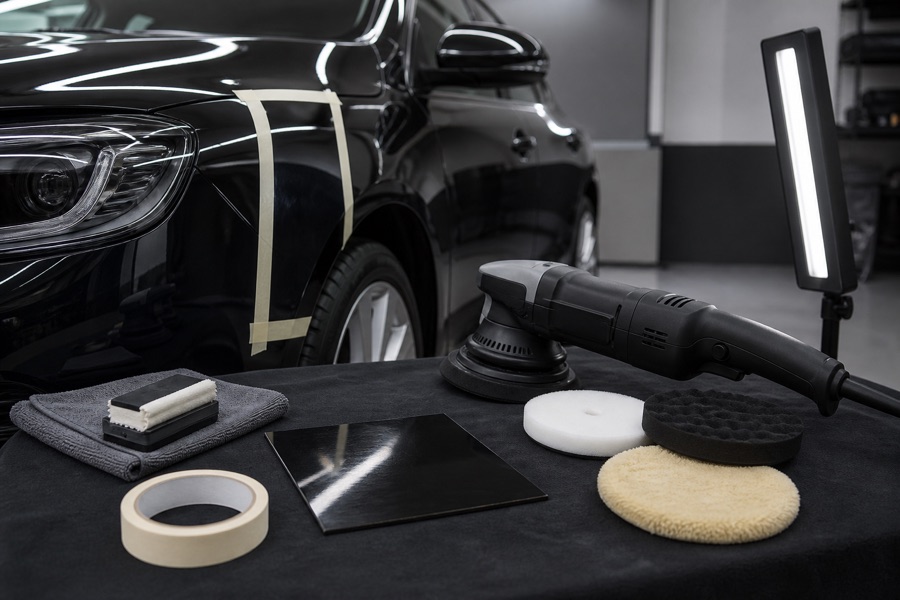
Quick comparison
| What you see | Useful starting point | Important limit |
|---|---|---|
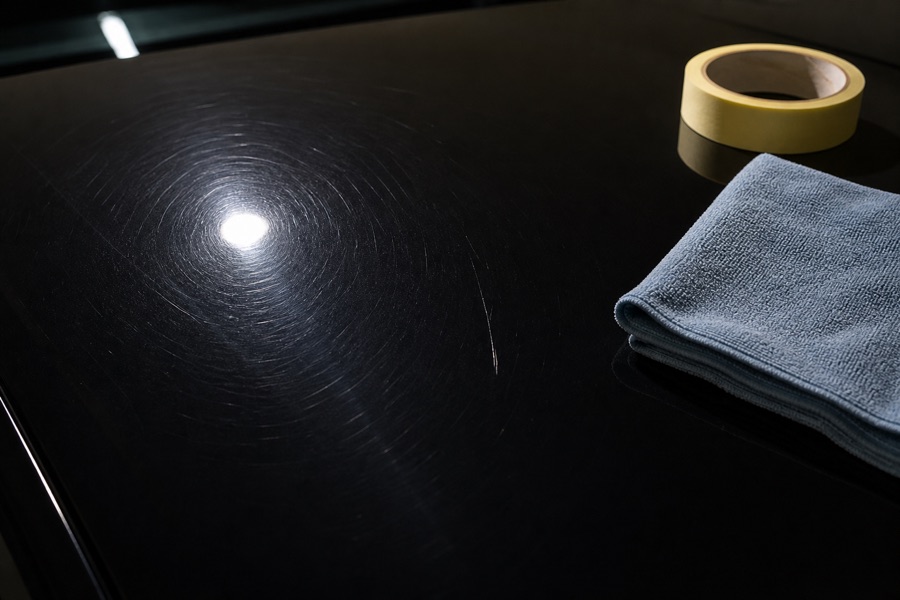
| Light haze or very fine wash marks | Finishing polish with a soft polishing or finishing pad | Test a small area; harder paint may need a different combination |
| Moderate swirls, oxidation or visible clear-coat defects | Compound or medium-cut polish followed by a refining step | Paint thickness and previous repairs may limit safe correction |
| Isolated light scratch or paint transfer | Targeted scratch remover or controlled spot correction | A deep scratch through the colour coat needs repair, not repeated polishing |
| Clean paint with acceptable gloss | Wax, sealant or another compatible protective finish | Protection can mask very minor marks temporarily but does not remove them |
Safer working sequence
Important: Always follow the current product instructions. Avoid hot panels and contaminated pads, and seek professional assessment where paint is thin, damaged, matte, textured or previously repaired.
Start with the defect and the safest suitable method. Then check the product page for intended surfaces, hand or machine use, pad compatibility, pack contents and any required follow-up protection.
Need application tools as well? Compare polishing machines and accessories or browse car detailing kits for broader maintenance tasks.